How to Prepare an Older Epoxy Floor for a New Coat

How to Prepare an Older Epoxy Floor for a New Coat
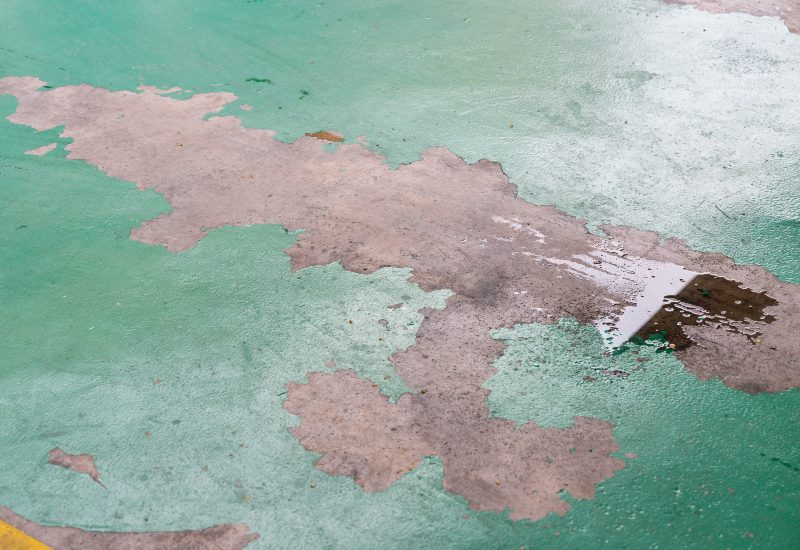
Epoxy flooring is a highly durable and resilient flooring solution commonly used in garages, warehouses, and commercial spaces. While epoxy coatings are designed to withstand heavy foot traffic, moisture, and wear, they don’t last forever. Over time, epoxy floors can develop cracks, lose their shine, or show signs of peeling and chipping. When this happens, applying a new epoxy coat can restore the floor’s strength, improve its appearance, and extend its lifespan.
Applying a new coat of epoxy over an older floor requires proper preparation to allow for adhesion and longevity. The new epoxy layer may not bond correctly without adequate prep work, leading to premature peeling or an uneven finish. This guide will walk you through the steps to prepare an older epoxy floor for a fresh coat, achieving a smooth and durable result.
Step-by-Step Guide to Preparing an Older Epoxy Floor for a New Coat
-
Sanding the Existing Epoxy Flooring
One of the most important steps in preparing an older epoxy floor is sanding the existing coating. This process removes any surface contaminants, smooths out imperfections, and creates a rough texture that allows the new epoxy to adhere properly. Here are some tips:
- Use a floor buffer, orbital sander, or a diamond grinder with 80–100 grit sandpaper to scuff the surface.
- Focus on high-traffic areas, spots with peeling, and any sections with noticeable wear.
- Sand the entire floor evenly until it appears dull and slightly rough.
Avoid using fine-grit sandpaper, as it may not create enough texture for proper adhesion. Also, don’t sand too aggressively, as this could damage the underlying concrete.
-
Cleaning & Preparing the Surface
After sanding, the next step is cleaning the floor thoroughly to remove dust, dirt, grease, and any contaminants that could interfere with the new epoxy coating.
- Start by vacuuming the entire floor to remove loose dust and debris.
- Use a degreaser or an ammonia-based cleaner to eliminate any oil spots or chemical stains. Avoid using acidic cleaners like vinegar, as they can leave behind a residue that prevents proper adhesion.
- Rinse the floor thoroughly with clean water and allow it to dry completely.
Proper cleaning allows the new epoxy coat to bond effectively, reducing the risk of peeling or bubbling in the future.
-
Wiping Away Smaller Debris
Even after vacuuming and mopping, some fine dust particles may still linger on the floor. These small particles can create bumps or imperfections in the new epoxy coating.
- Use a microfiber or tack cloth to wipe down the floor, focusing on corners and edges where dust accumulates.
- For any remaining residue, lightly dampen a cloth with denatured alcohol and wipe the surface.
- Allow the floor to air dry before proceeding.
Removing even the most minor debris prepares the floor for a smooth, professional-looking finish.

Applying the New Epoxy Coat
Once the floor is fully prepared, you can move on to applying the new epoxy coating. Follow these steps carefully to achieve the best results:
-
Mix the Epoxy Properly
- Read and follow the manufacturer’s instructions when mixing the epoxy resin and hardener.
- Allow the mixture to sit for the recommended induction time before application.
-
Apply the First Coat of Epoxy
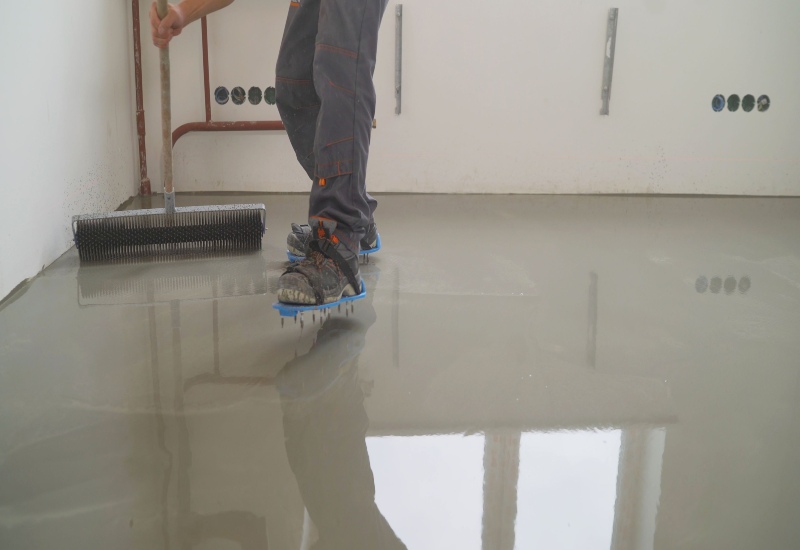
- Pour the epoxy in small sections and spread it evenly using a roller or squeegee.
- Apply consistent strokes to ensure a smooth, uniform finish.
- Use a brush to cut in around the edges and corners for a neat application.
-
Let the First Coat Cure
- Allow the first coat to dry for at least 12–24 hours, depending on temperature and humidity levels.
- Avoid walking on the floor during this curing period.
-
Apply a Second Coat (If Needed)
- If additional thickness or durability is required, apply a second coat of epoxy following the same process.
- A second coat helps enhance the floor’s longevity and improves its resistance to wear and tear.
-
Final Curing Time
- Proper curing ensures a long-lasting, high-performance epoxy finish. The epoxy floor should be left undisturbed for a full 72 hours to cure completely before heavy objects, vehicles, or machinery are placed on it.
Why Choose Custom Floor Coating for Your Epoxy Flooring Needs?
Preparing and recoating an older epoxy floor can be time-consuming and requires precision to allow the new coat to adhere properly. Custom Floor Coating provides expert epoxy floor renewal services in Jacksonville and St. Augustine, FL if you want a flawless, professional finish without the hassle.
Why Work With Us?
- Experienced Professionals – We specialize in epoxy floor coatings, providing top-quality results.
- High-Quality Materials – We use premium-grade epoxy products designed for durability and long-lasting performance.
- Hassle-Free Process – Our team handles everything from preparation to application, saving you time and effort.
Ready to give your epoxy floor a brand-new look? Contact us for a consultation and get a professional epoxy floor coating that lasts!
